LAYERING FOR WINTER
Is winter cycling for everyone?
No, it can’t be, and that’s ok; even chocolate isn’t for everyone.
Is winter cycling for you? In this post I break down core principles and elements that underpin fun and sustainable winter cycling. We can’t change winter, but we can change our perspective about it. The more fun we have outside in the cold, the more we convert the dread of winter to another, warmer emotion: delight. Let’s get into it!
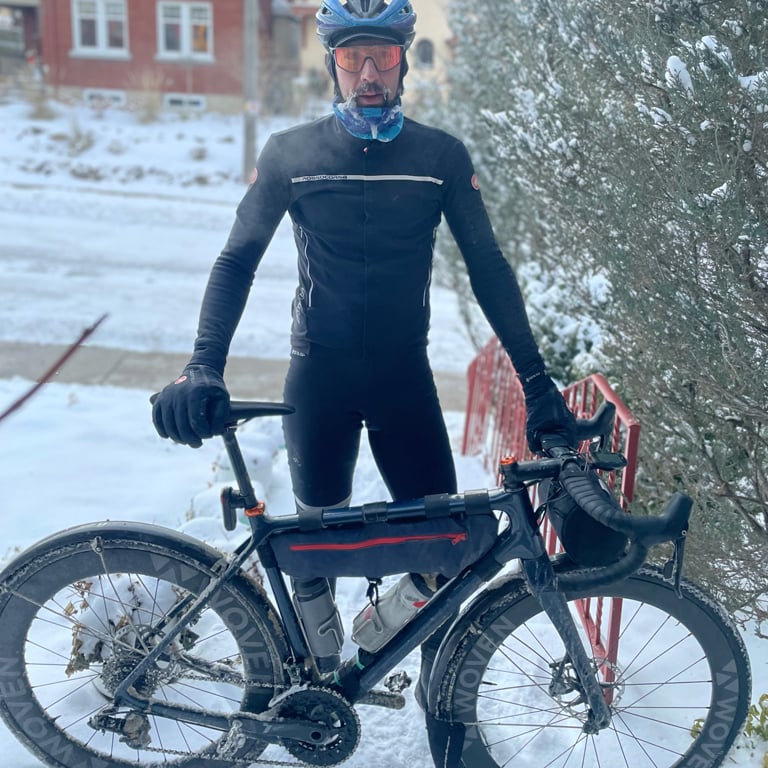
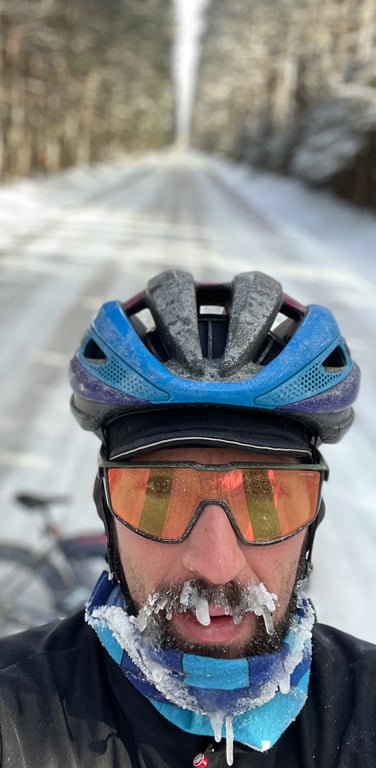
Anyone who has stared at the weather forecast, horrified, closing in on a fall, winter, or spring cycling event will know what it is to panic: “WHAT WILL I WEAR!?!” Races and other organized cycling events drive us to make decisions we have to live with, since we don’t have team cars like the pros, carrying spare kit and hot tea.
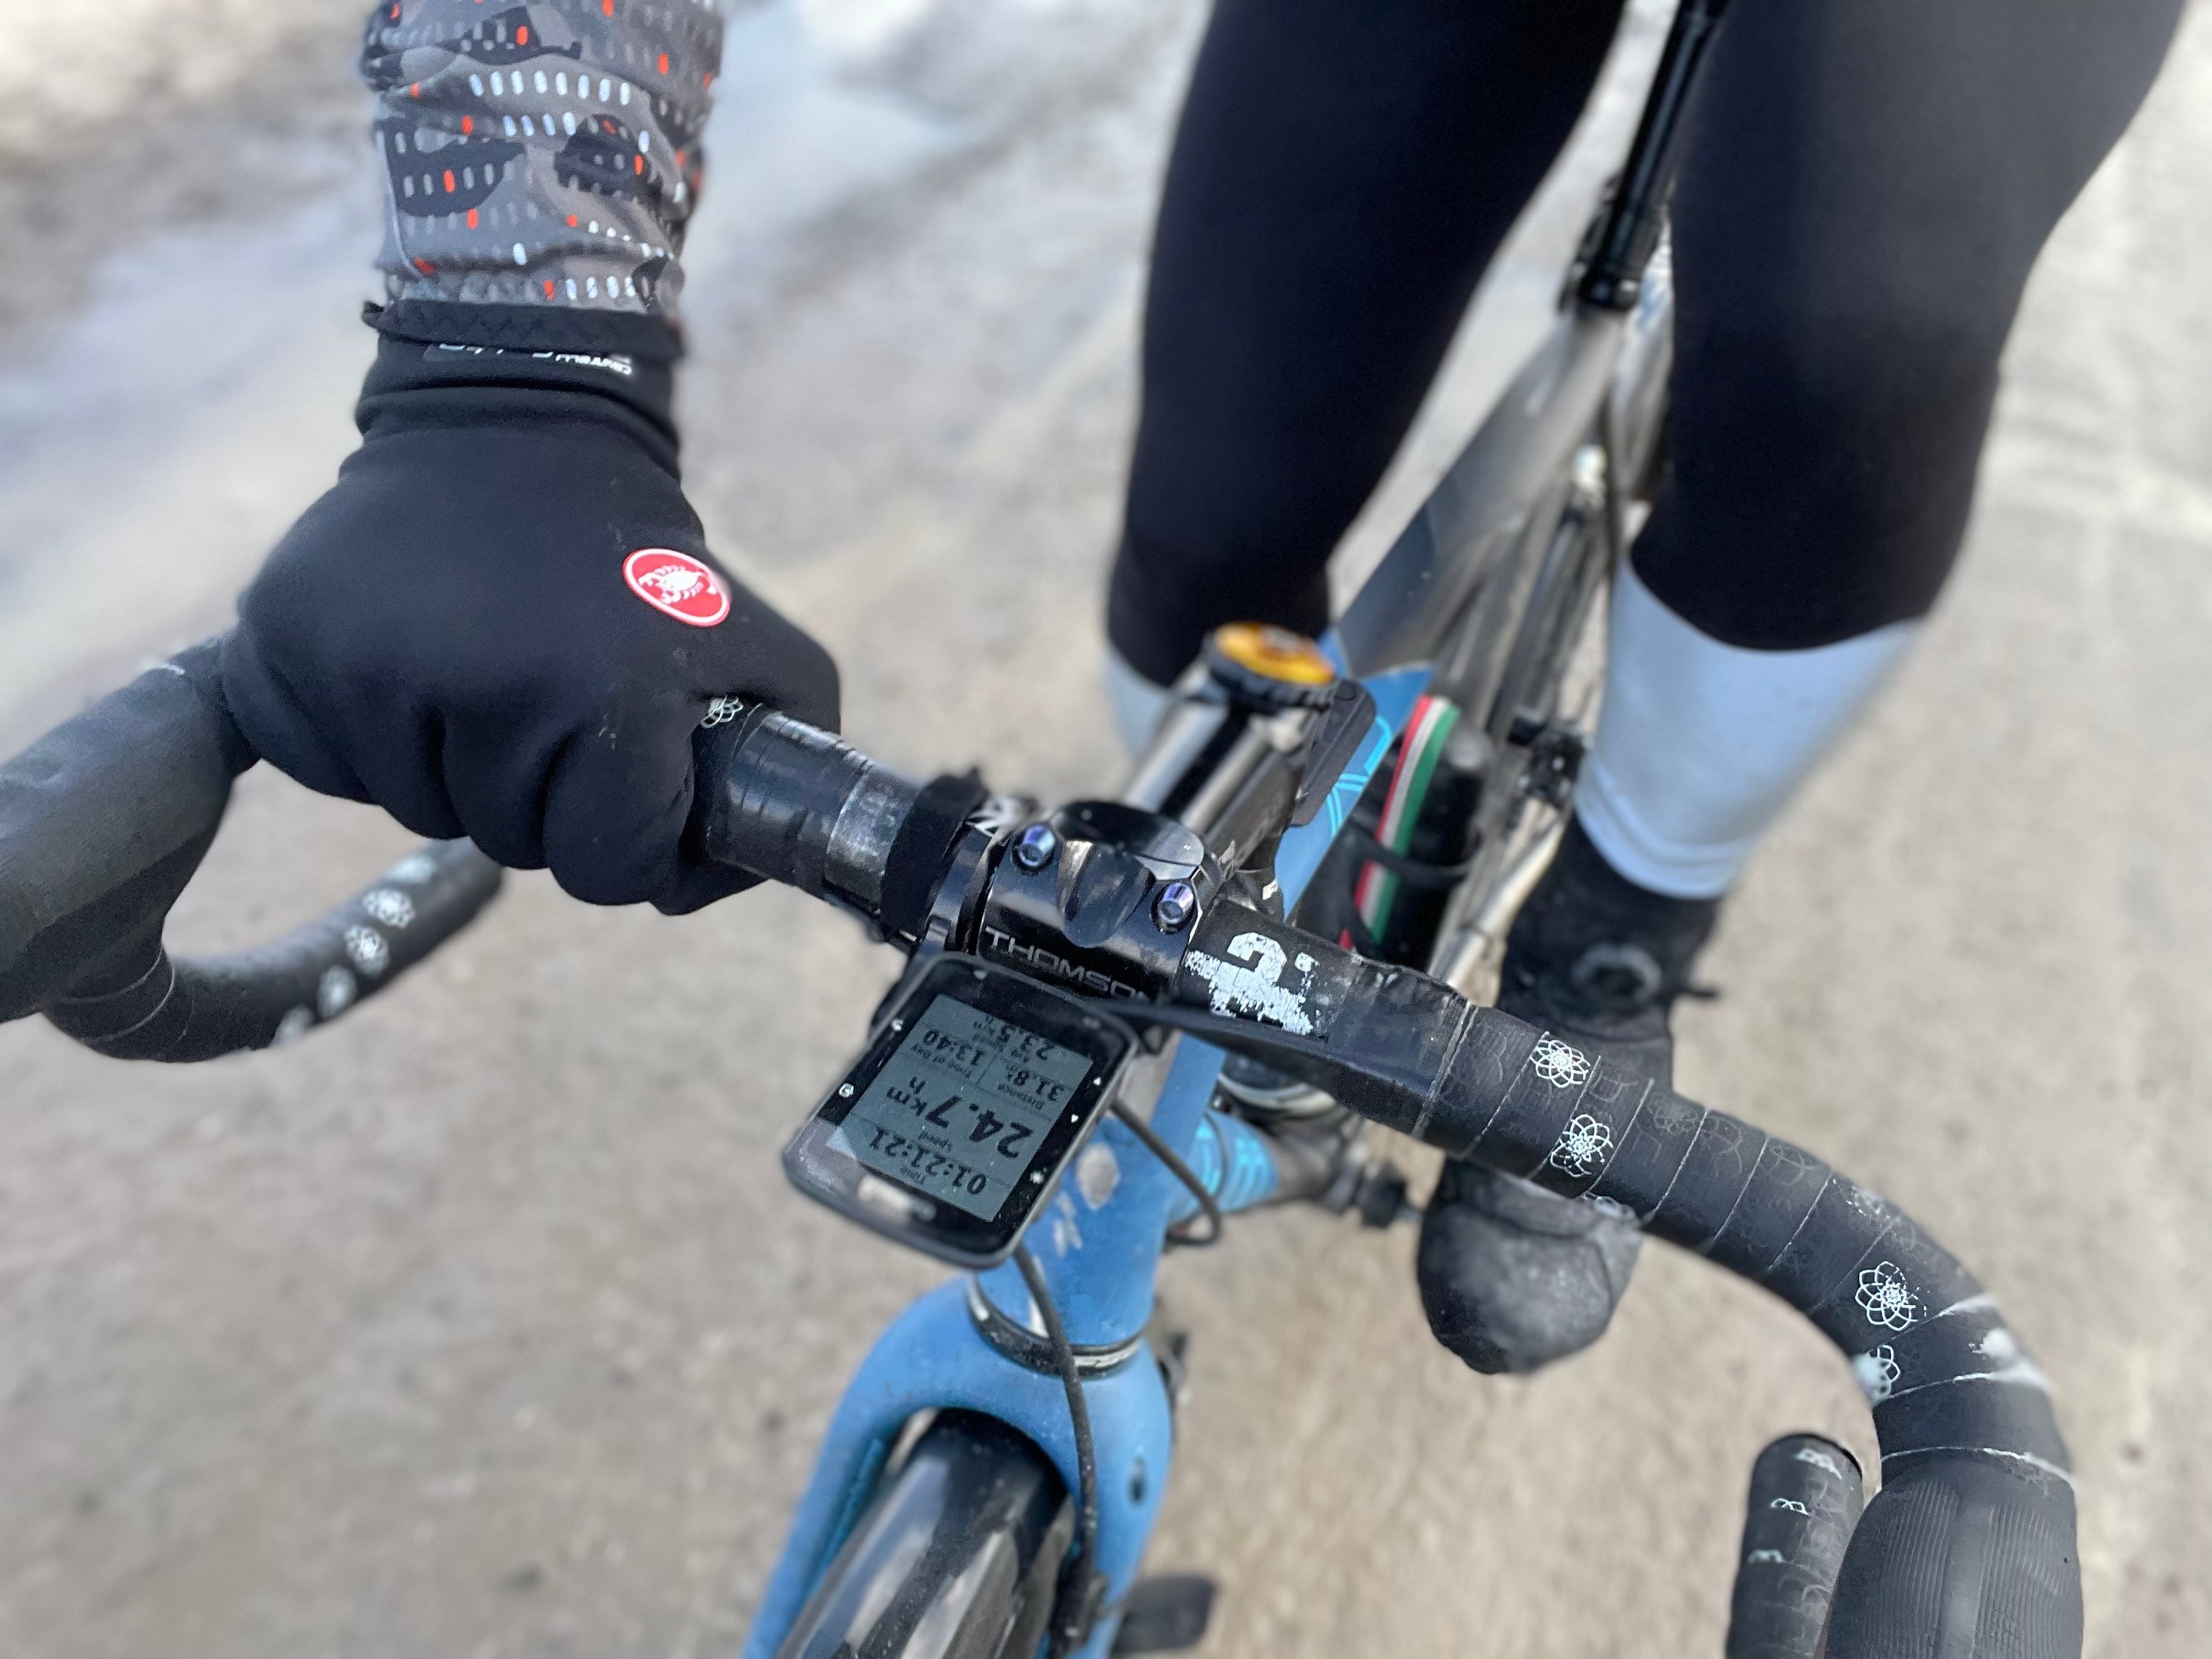
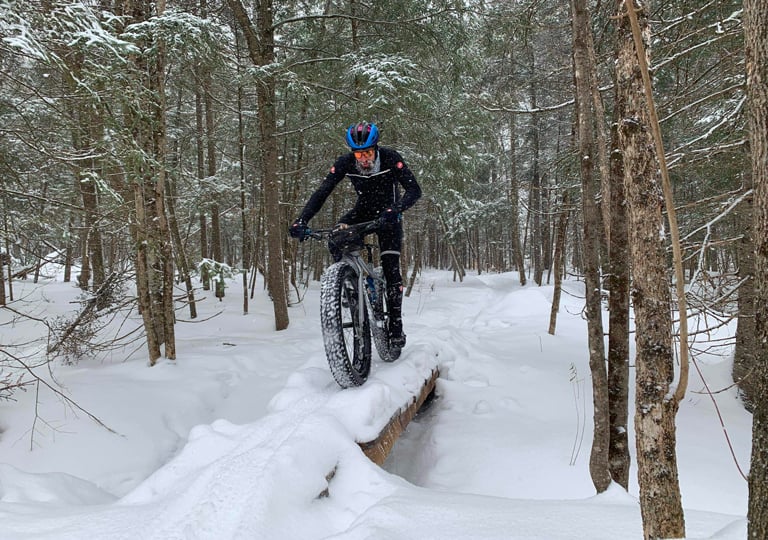
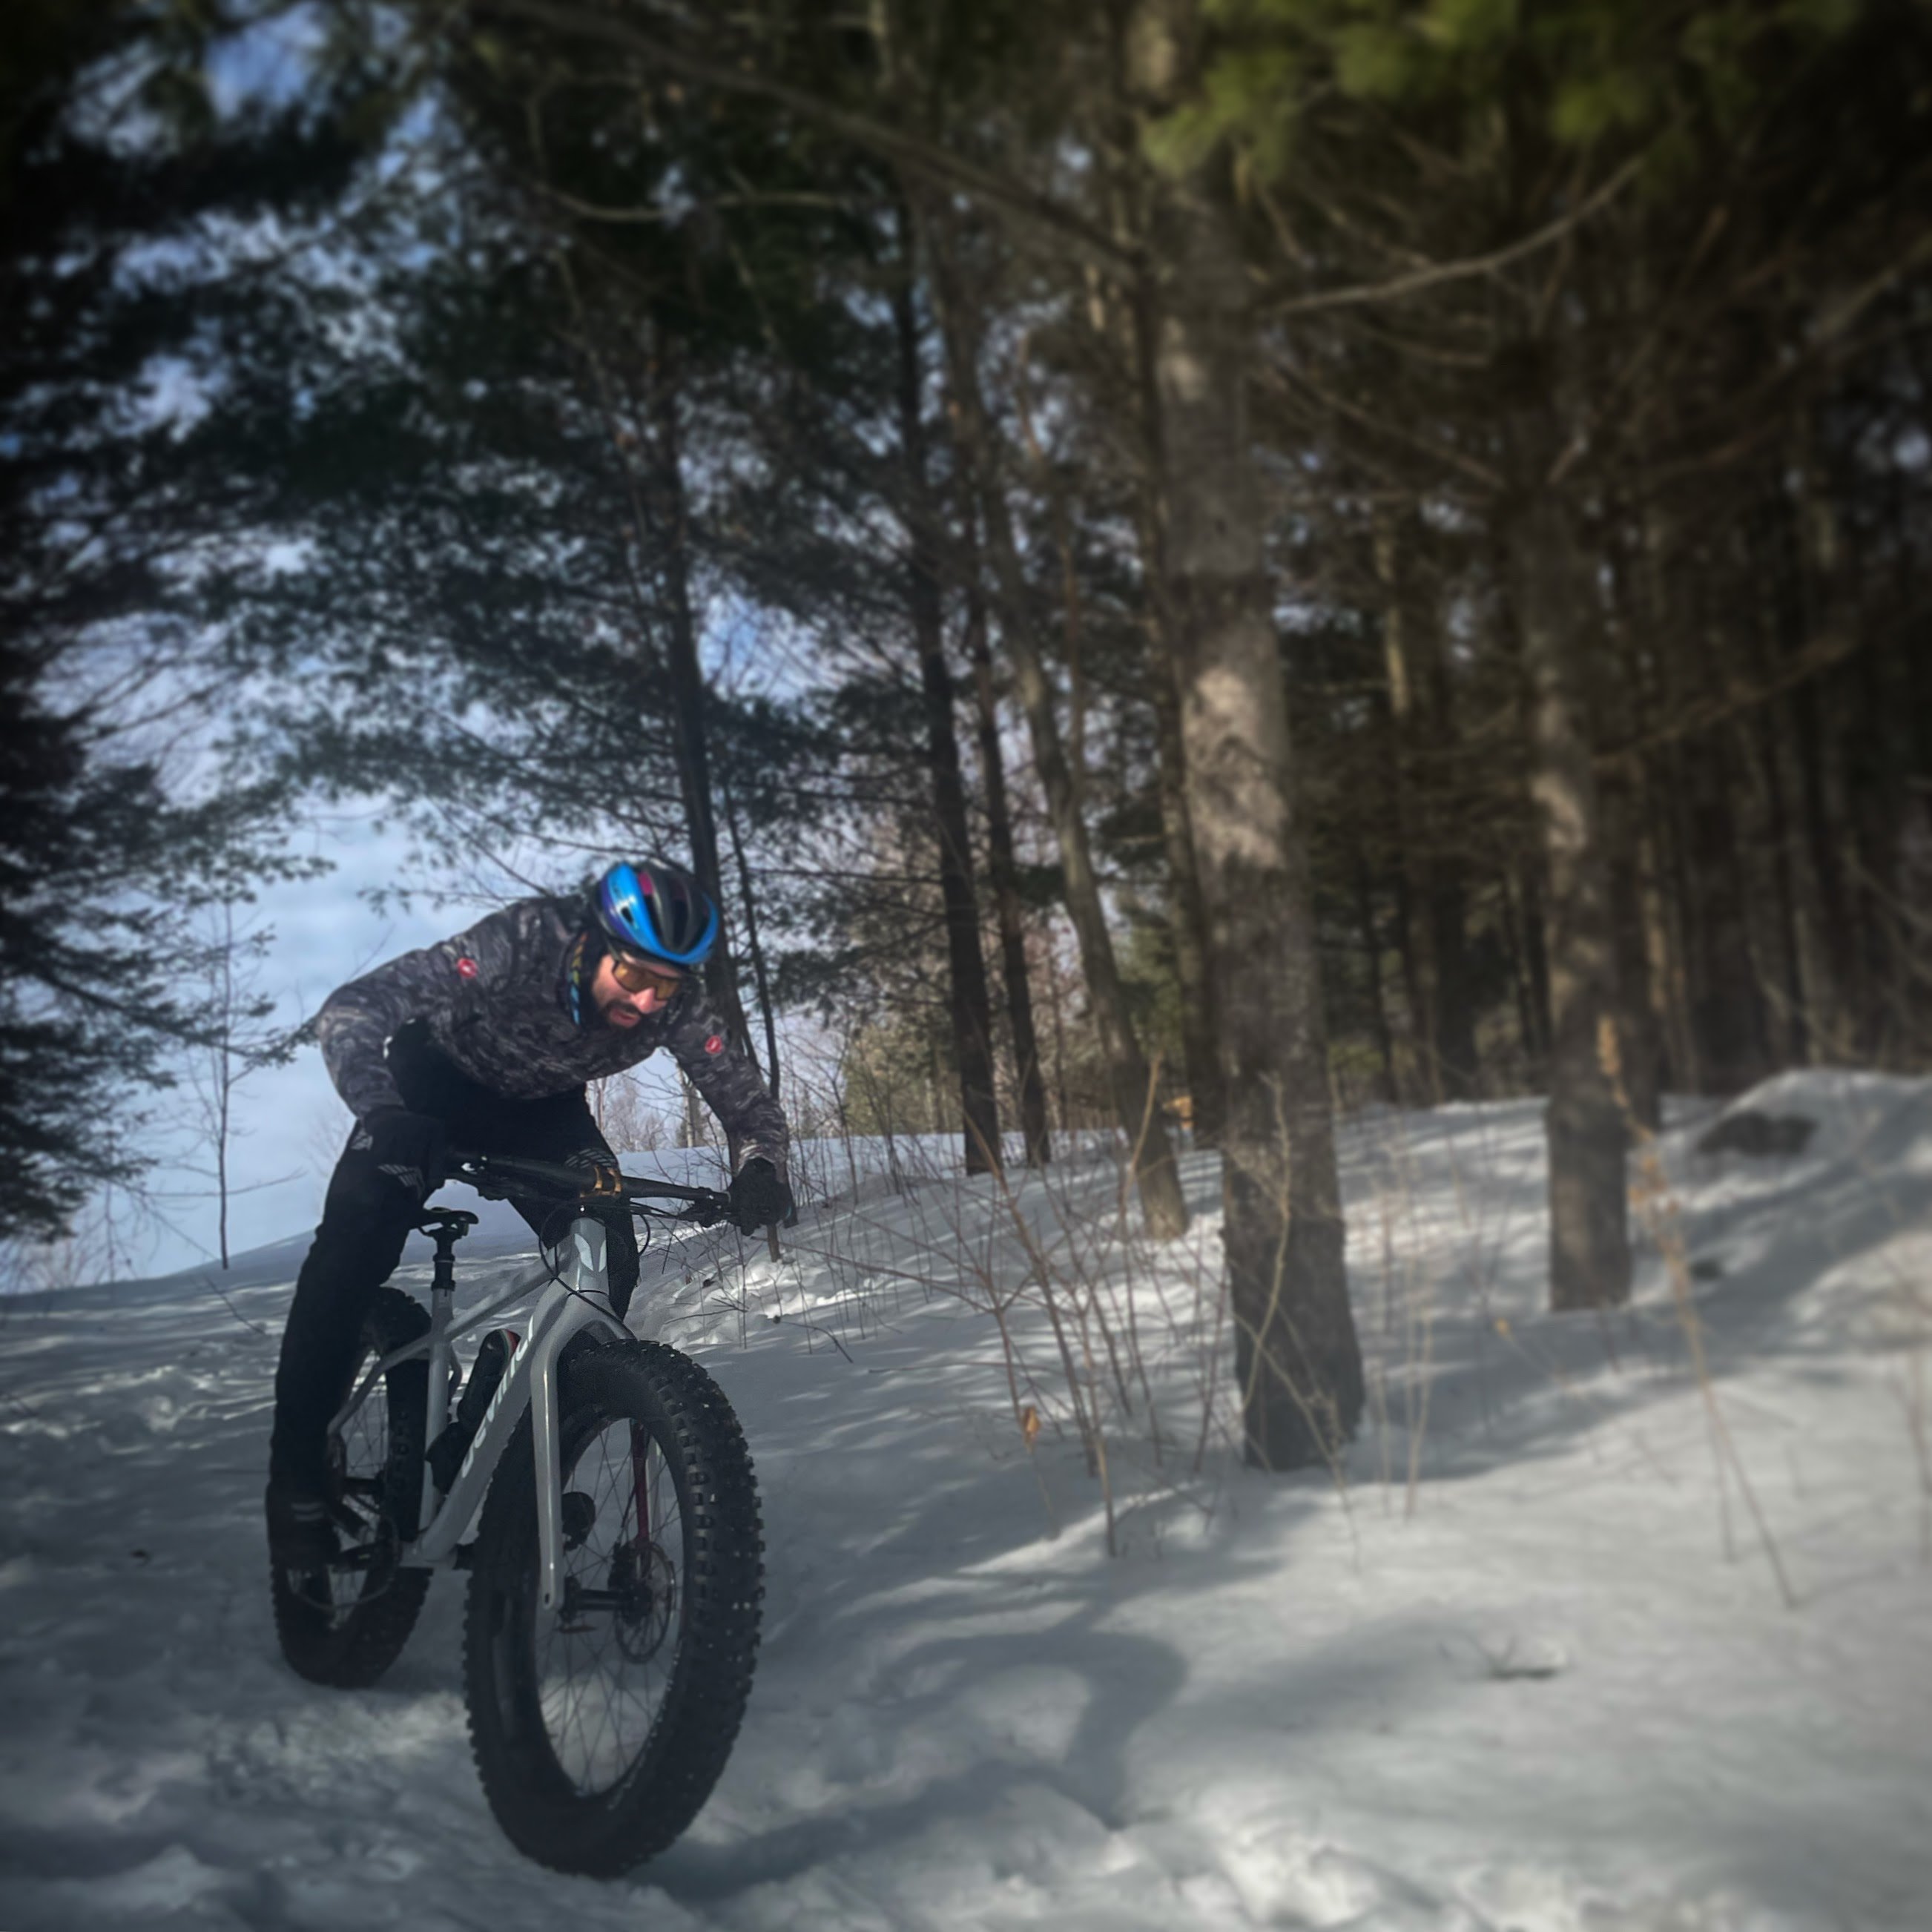
I started riding my MTB during the winter at 13 years old, more than 30 years ago, so I had quite a bit of experience by the time I entered my first cold cycling event, a cyclocross race. Ultimately, I came to think of the worst weather as an advantage, because I knew how to dress. But the mindset advantage was relative; cycling kit has progresses a long way over the decades, especially when it comes to wind and water protection combined with breathable and durable properties.
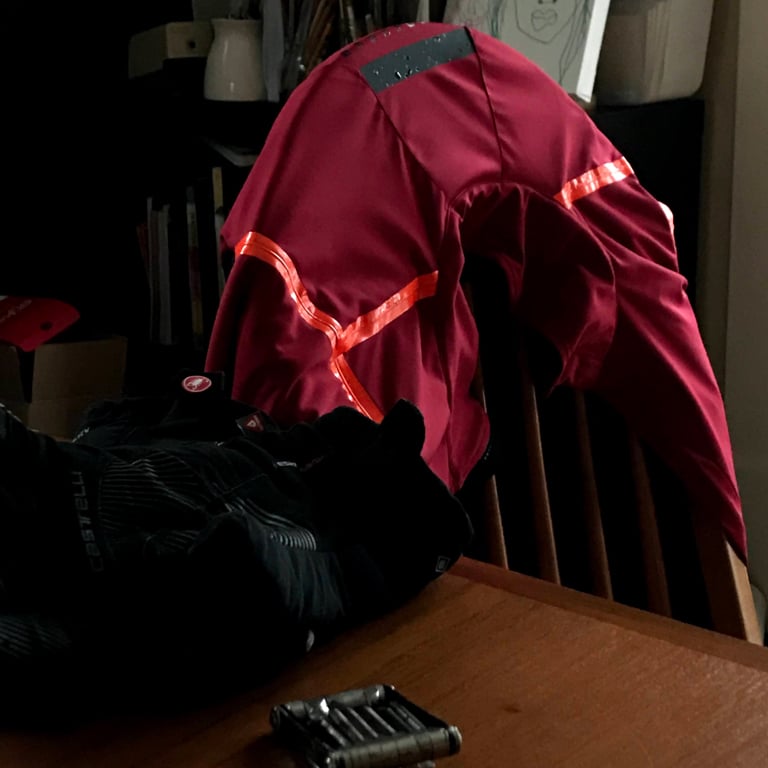
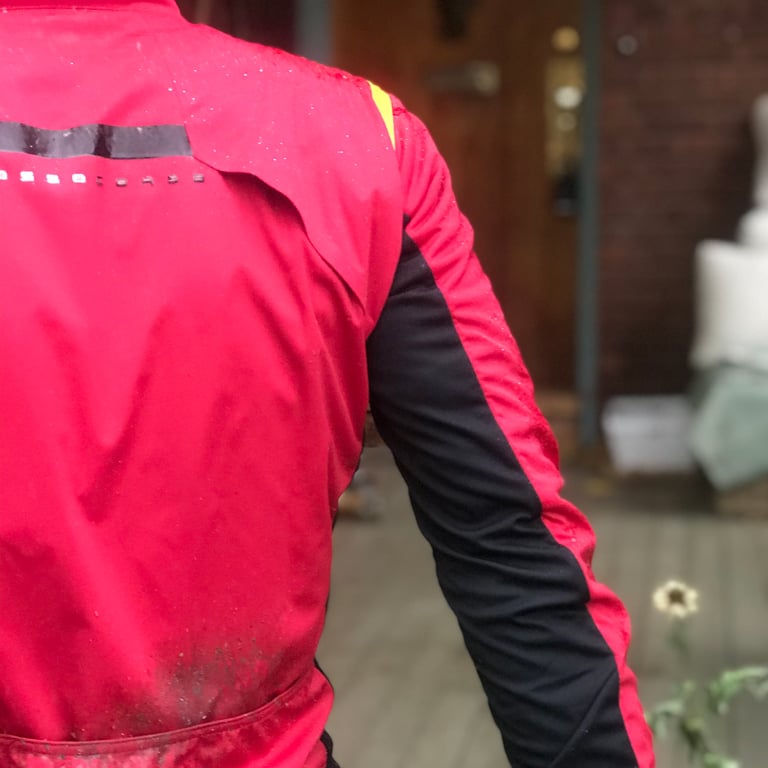
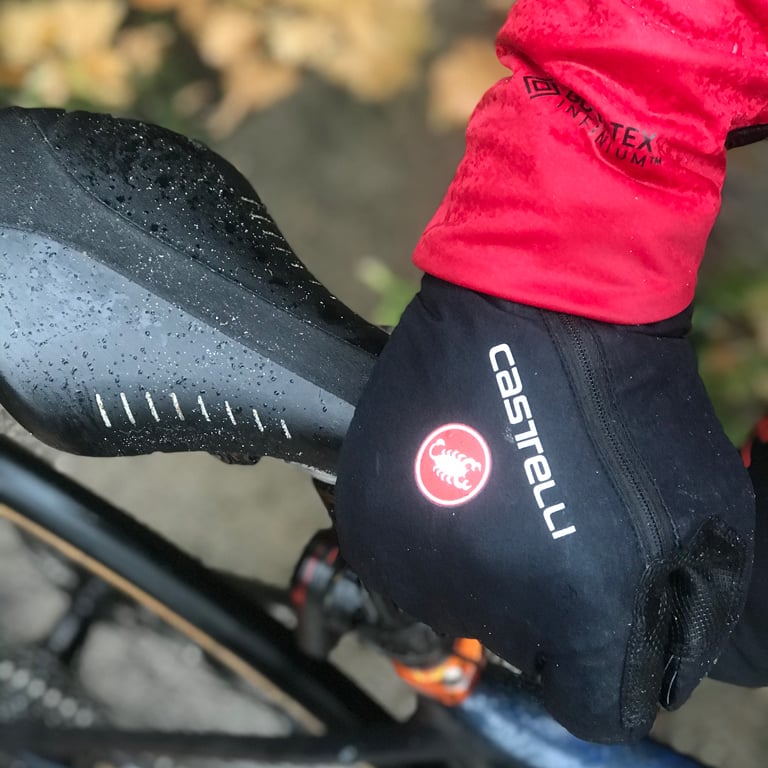
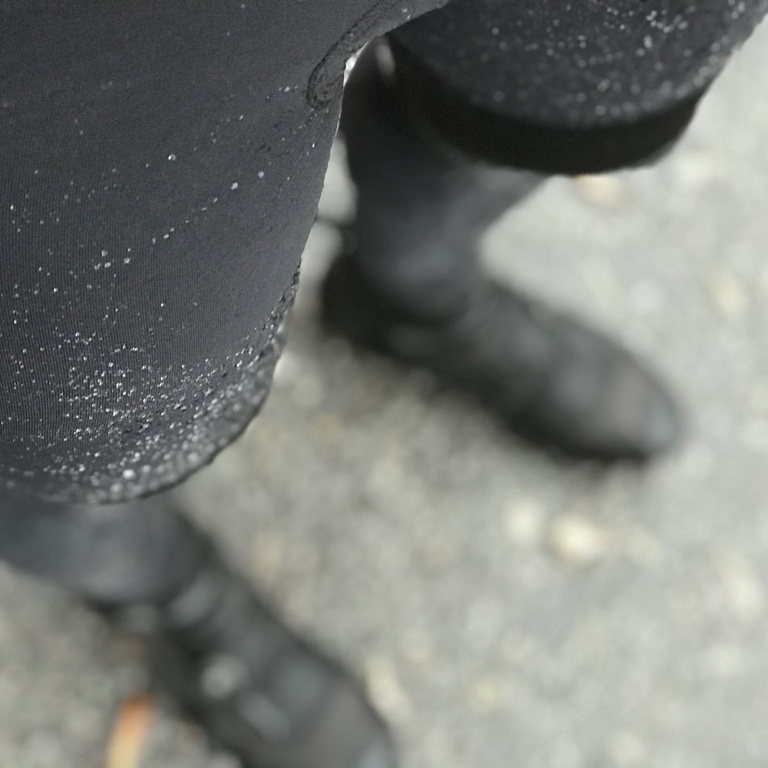
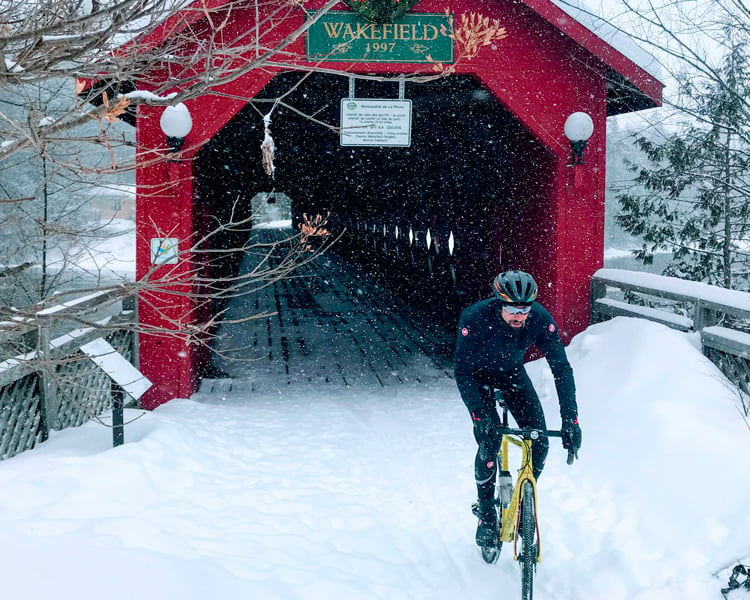
Winter weather, at the global scale, varies broadly. Most cyclists will agree that cold rain - between 0C and 10C is the toughest weather to deal with on the bike. If this is what you’re dealing with through winter in your region, you’re going to want to run full fenders on your bike (with flaps), and focus on consistent effort compatible routes, coupled with protection layers that keep water out while allowing your vapour to escape.
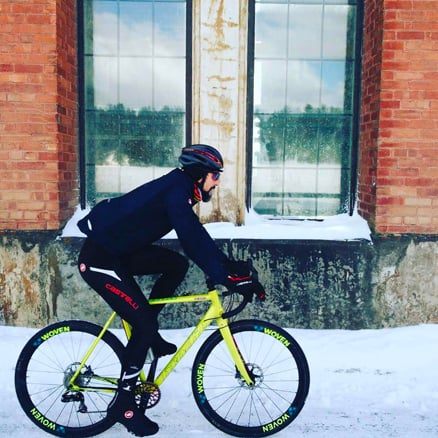
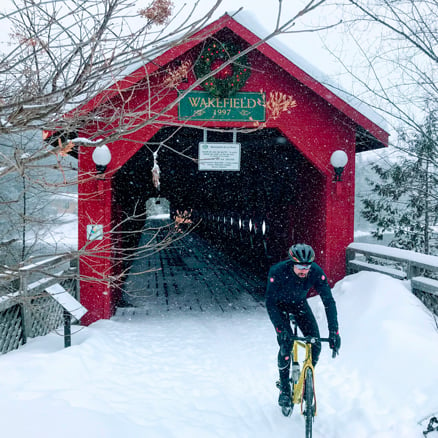
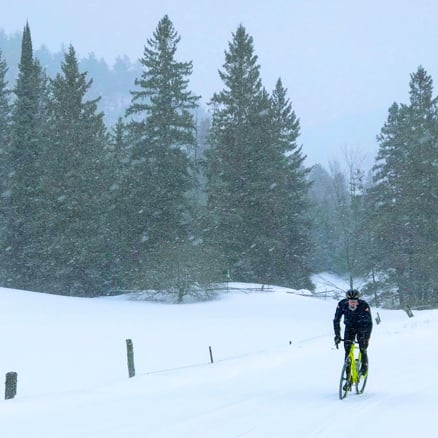
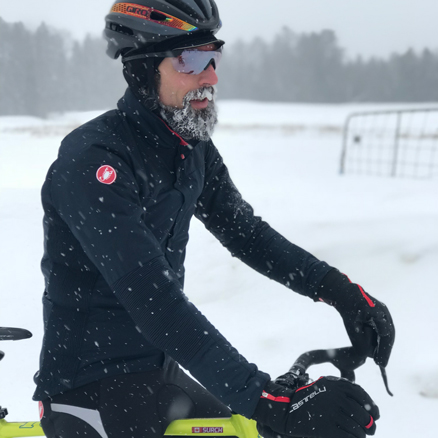
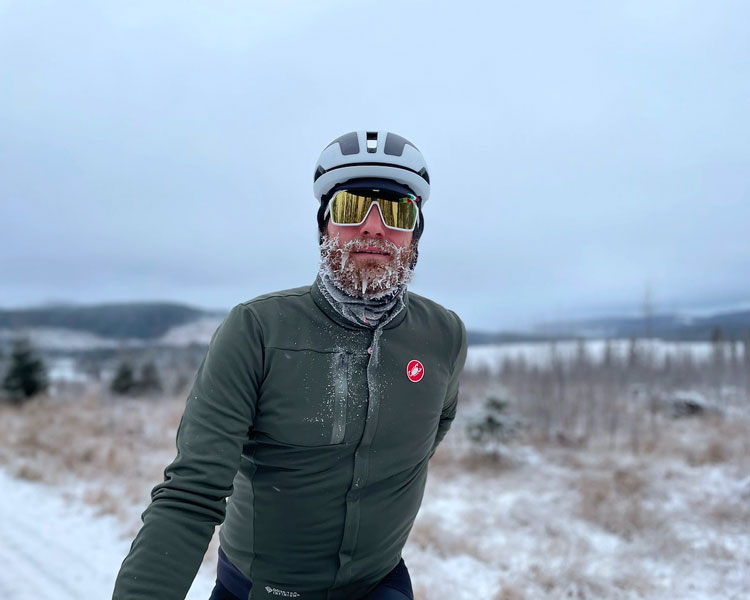
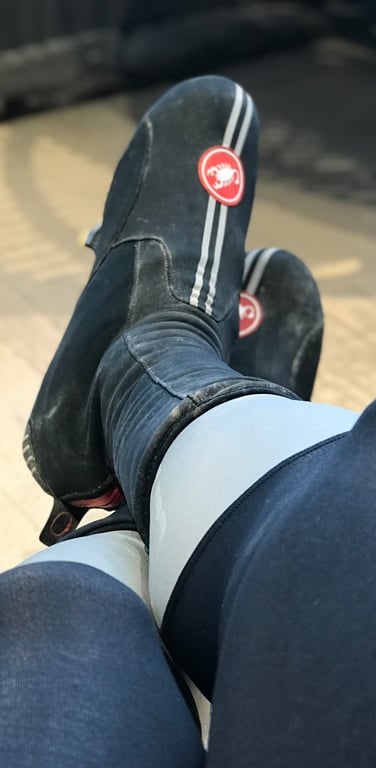
Below freezing, dressing for winter riding becomes more about insulation and moisture management (from the body out), and managing our ‘weakest links’: hands and feet. Below zero, we also need to understand that coming to a full stop for any length of time will reduce our body’s heat production, and introduce the need for insulation to help retain our heat. If we’re saturated at the point of stopping, the rate of heat transfer from our bodies out will be amplified. This is where risk gets real, and a great day can quickly become very bad.
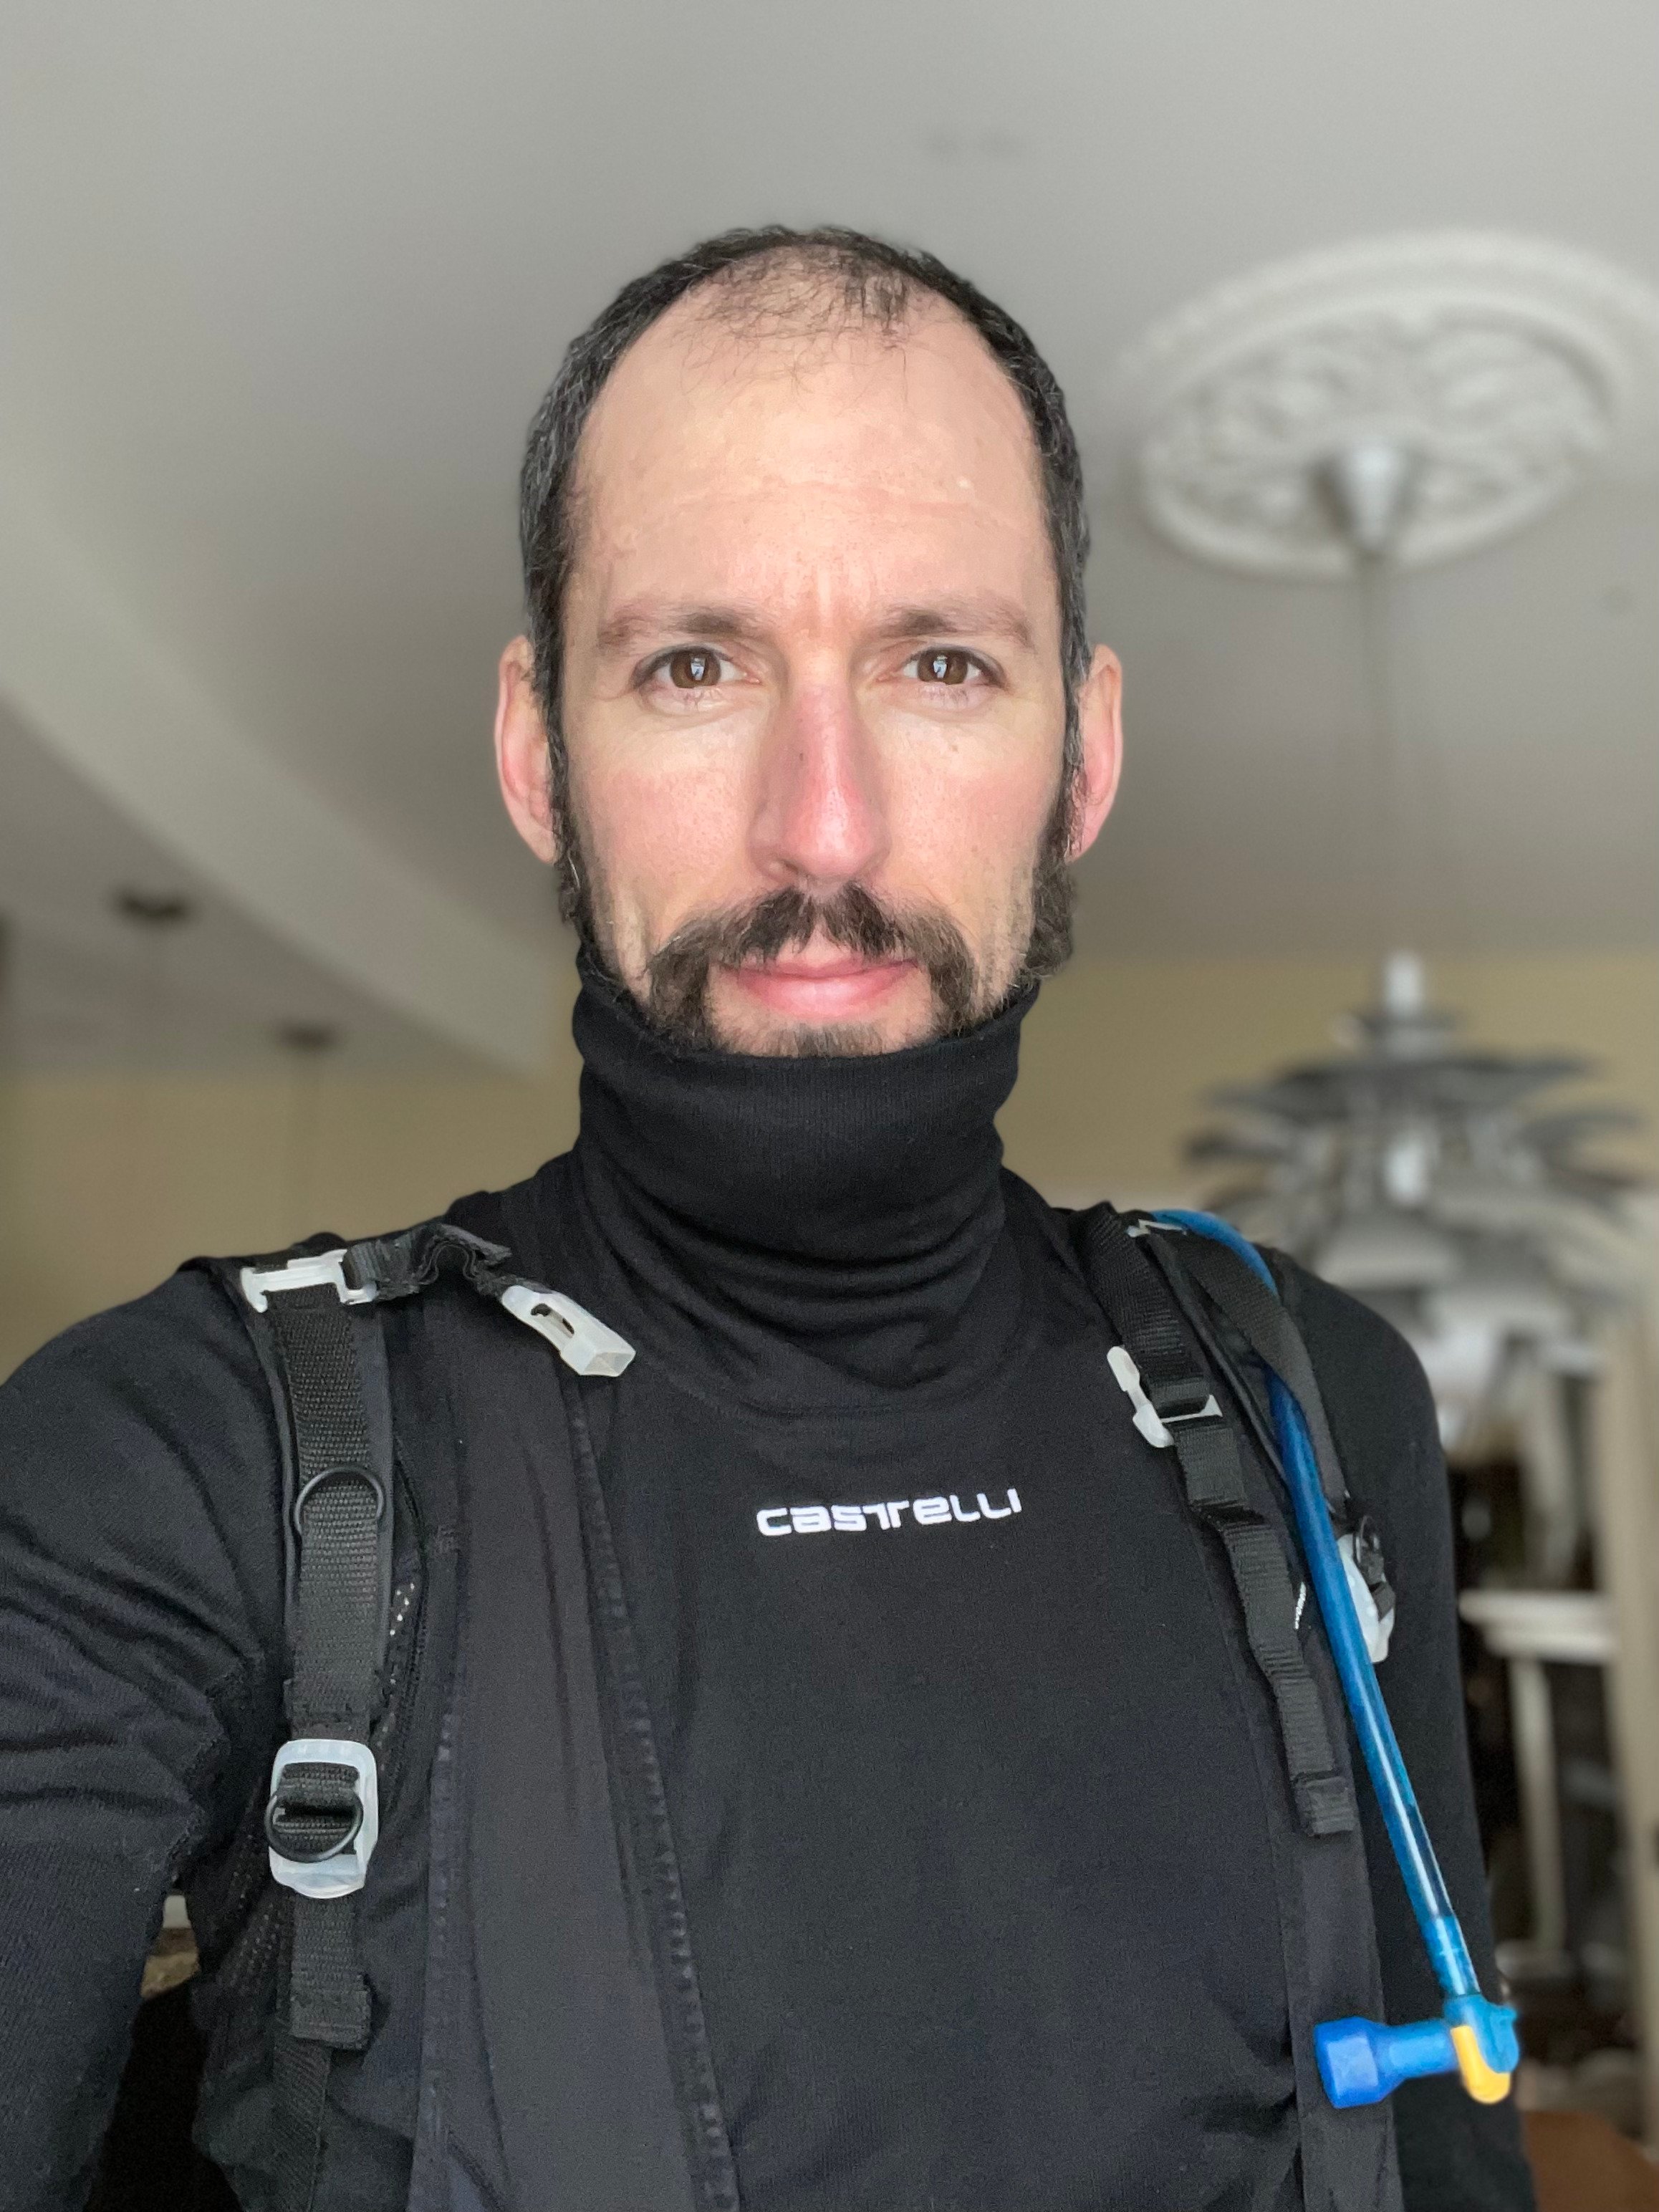
It’s important to know that we must dress for how we want the ride to go, but also have contingencies for if the ride goes off the rails. If you have experience riding in mountains, you’ll be familiar with this mindset. It’s generally unwise to head up mountains without a jacket; rain and cold can move in quickly, even during the height of summer. Similarly, a crash or mechanical failure in sub-zero conditions can render us stationary or walking, so there will often be a case for packing an insulating jacket you can put on if needed. And if you put that jacket on over a dry core and fairly dry external layer, you’re going to fare a heck of a lot better than if you’re saturated.
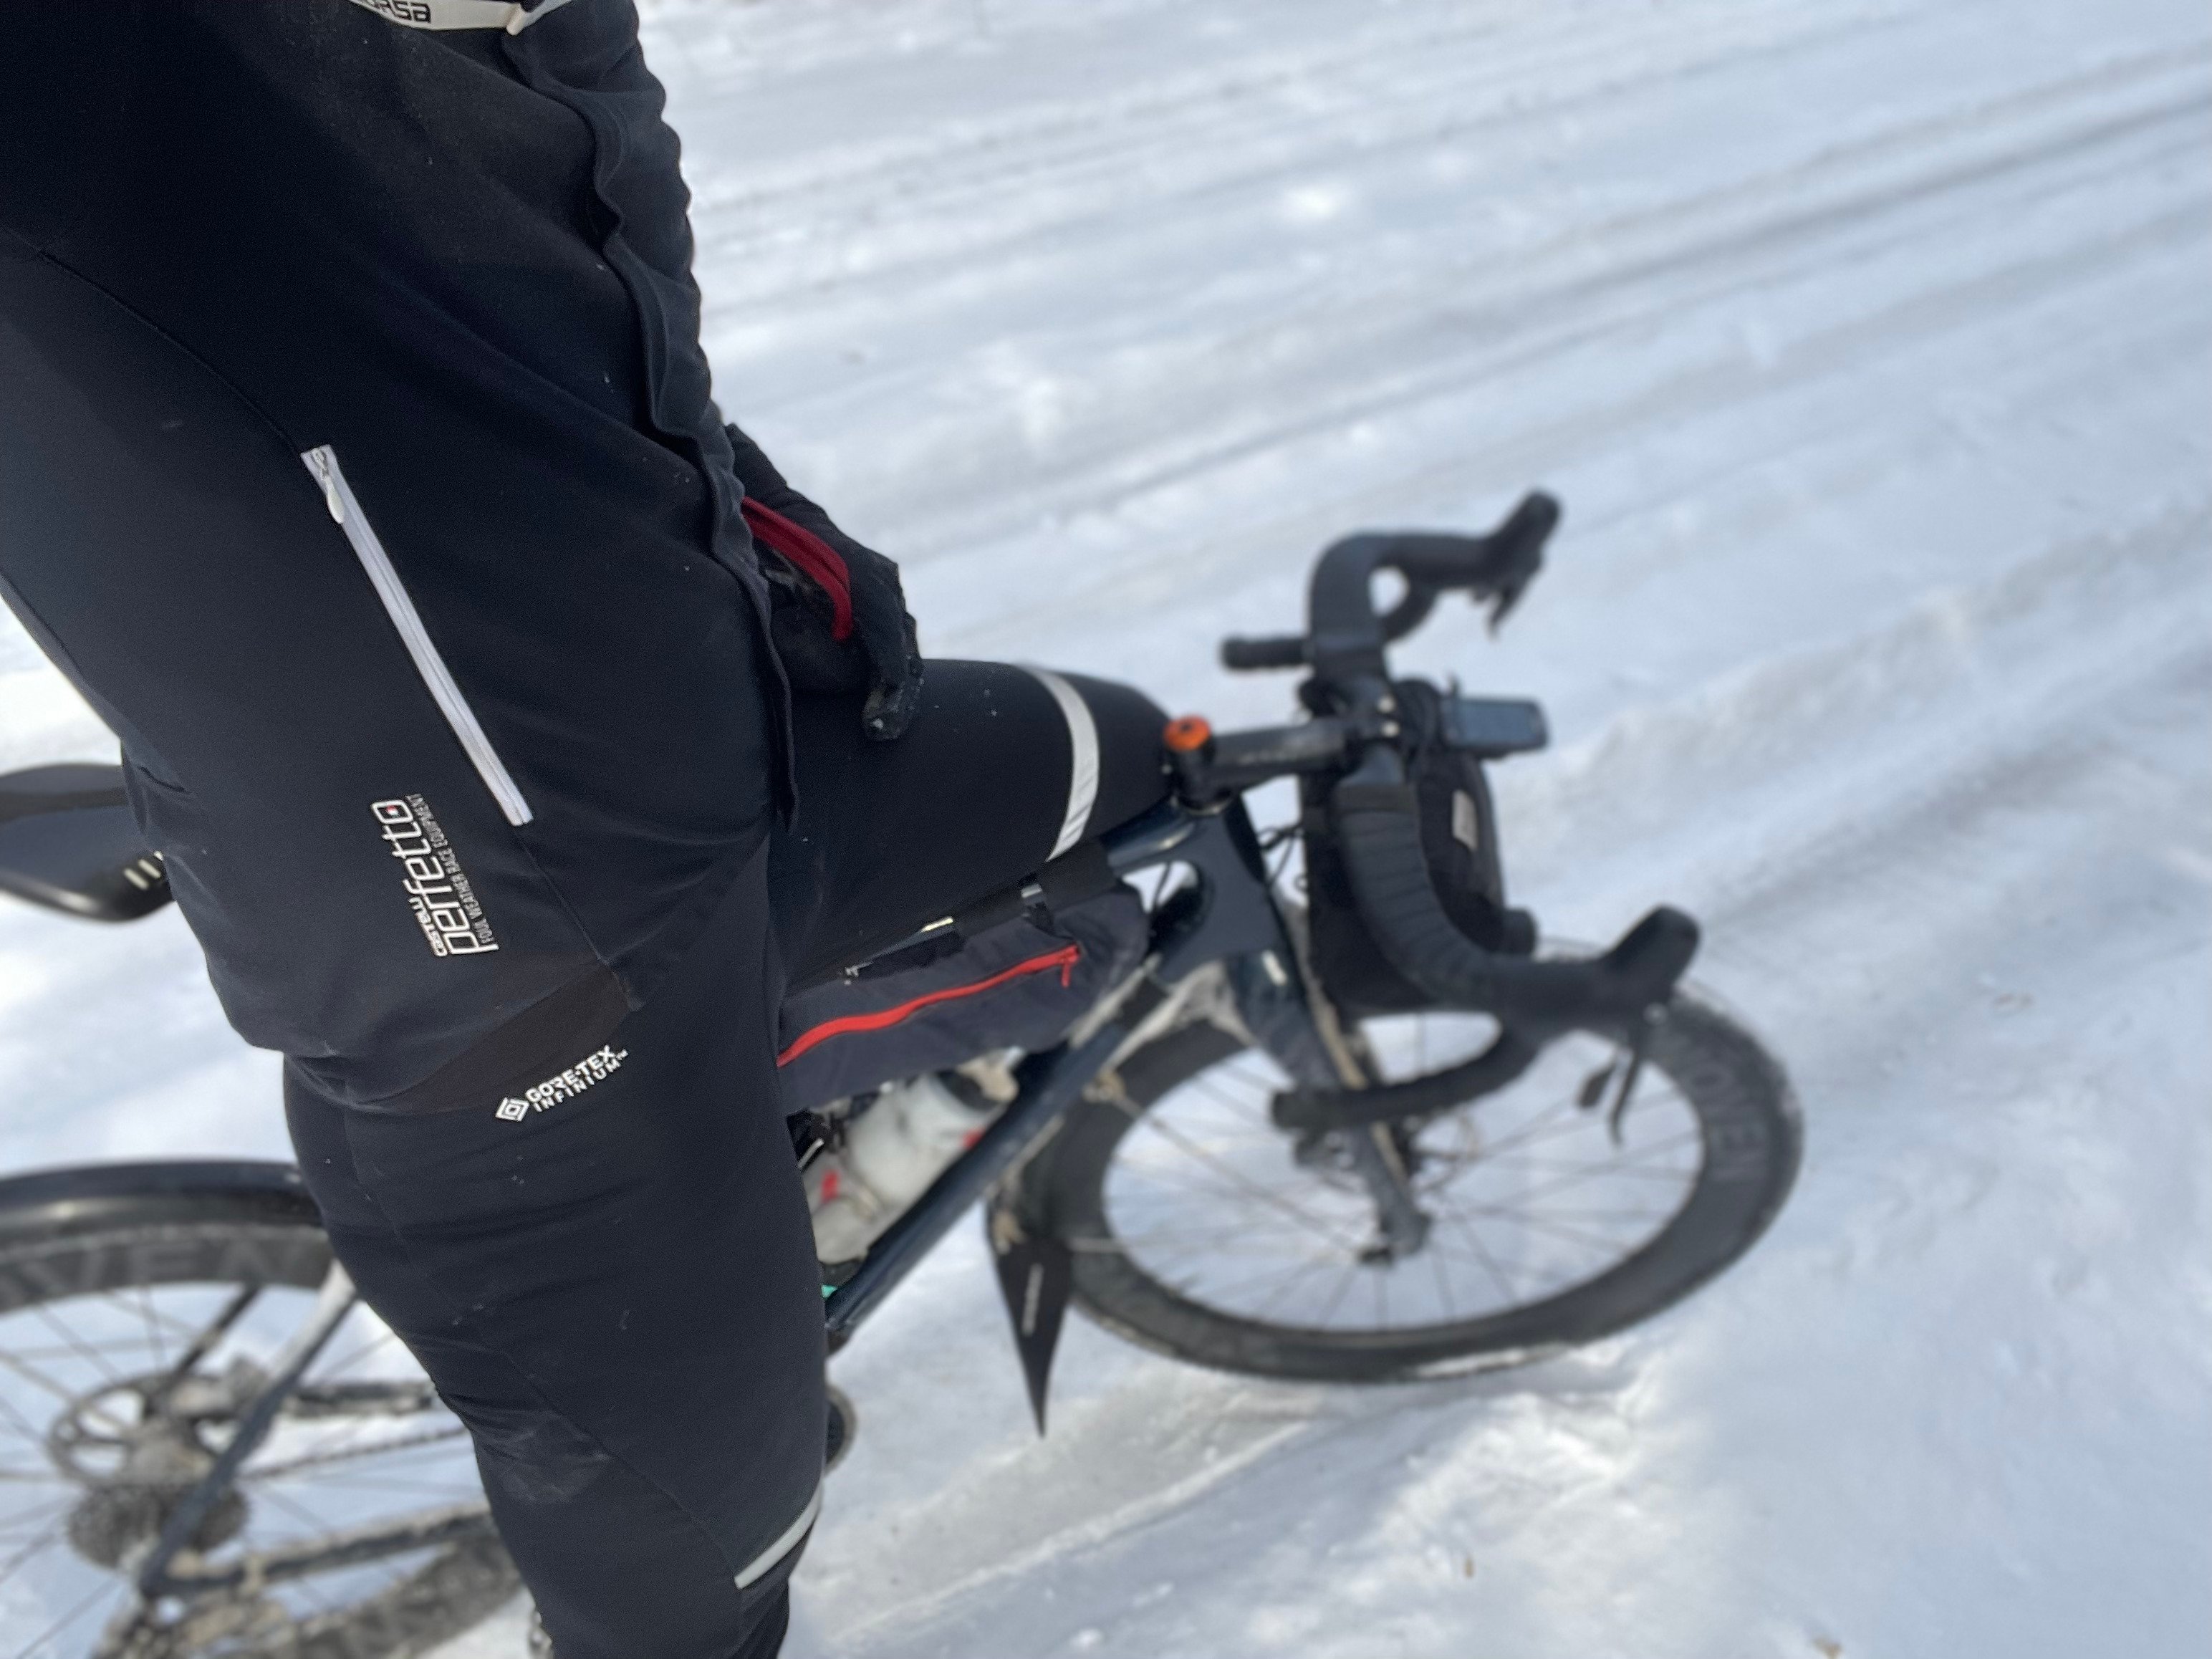
It takes time to work out how different combinations of kit work for us, especially when humidity levels vary significantly where we ride. A jacket might feel perfect during one -5C ride, then cold on another. Why? When humidity is high, the wind penetrates fabrics more easily, and our evaporation rate off the surface of our external layer drops. So we’re both retaining more moisture - which amplifies heat transfer - and we’re taking more wind to our skin.
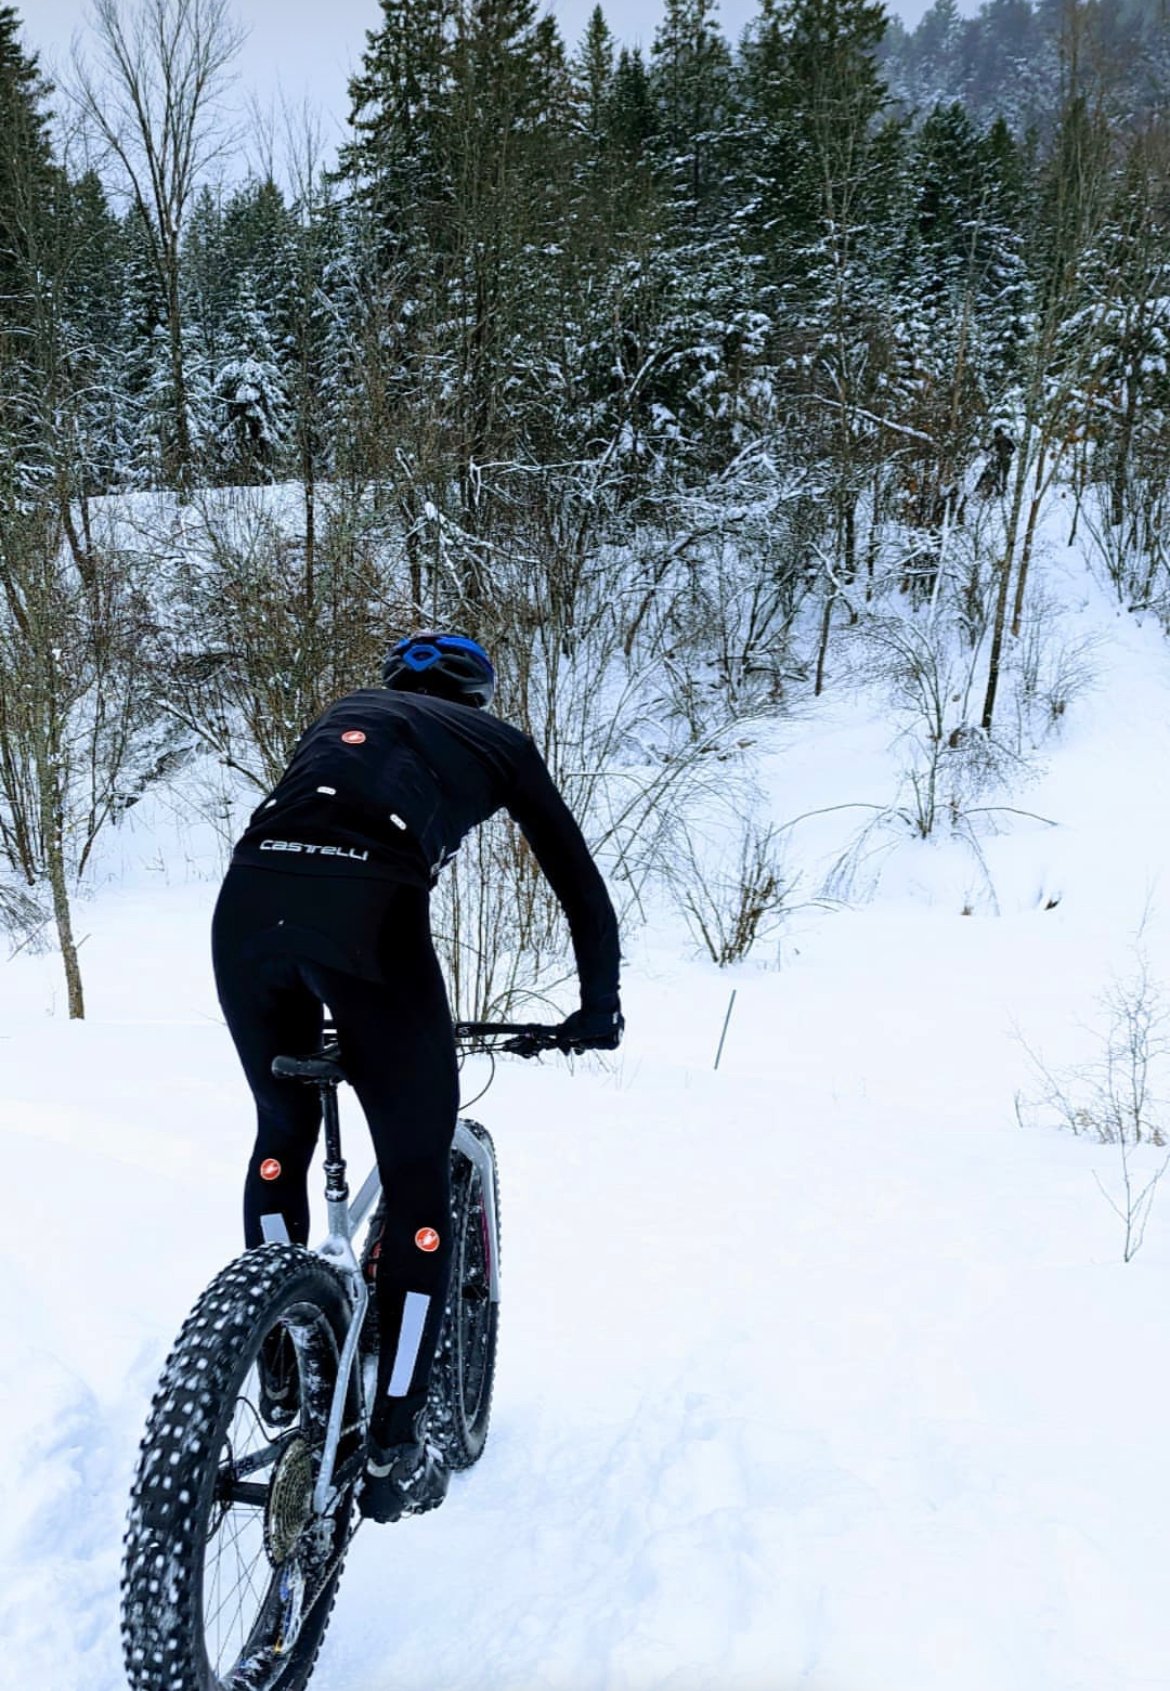
Since the aim is to stay as warm and dry as we can, across varied intensity, the straightest line to consistent ‘wins’ with our kit is to track what we’re doing. This is particularly valuable if you don’t have the opportunity to ride outside often over winter. For those who do, the feedback loop is tight, and small adjustments can be made day to day. When I’ve ridden daily in winter conditions I’ve often used the exact same kit set-up days in a row. I’ve also ridden weekend days in totally different kit, because the weather had shifted significantly.
One way or another, try to be consistent. If you ride outside once a week, record what you wore alongside the weather metrics - starting temperature, ending temperature, wind, humidity. Record how you found your kit performed. For example, were your arms cold for the first 30 minutes, then fine? Were your hands warm for the first hour, then cold? Glutes cold the whole time? Completely comfortable and dry the whole ride?
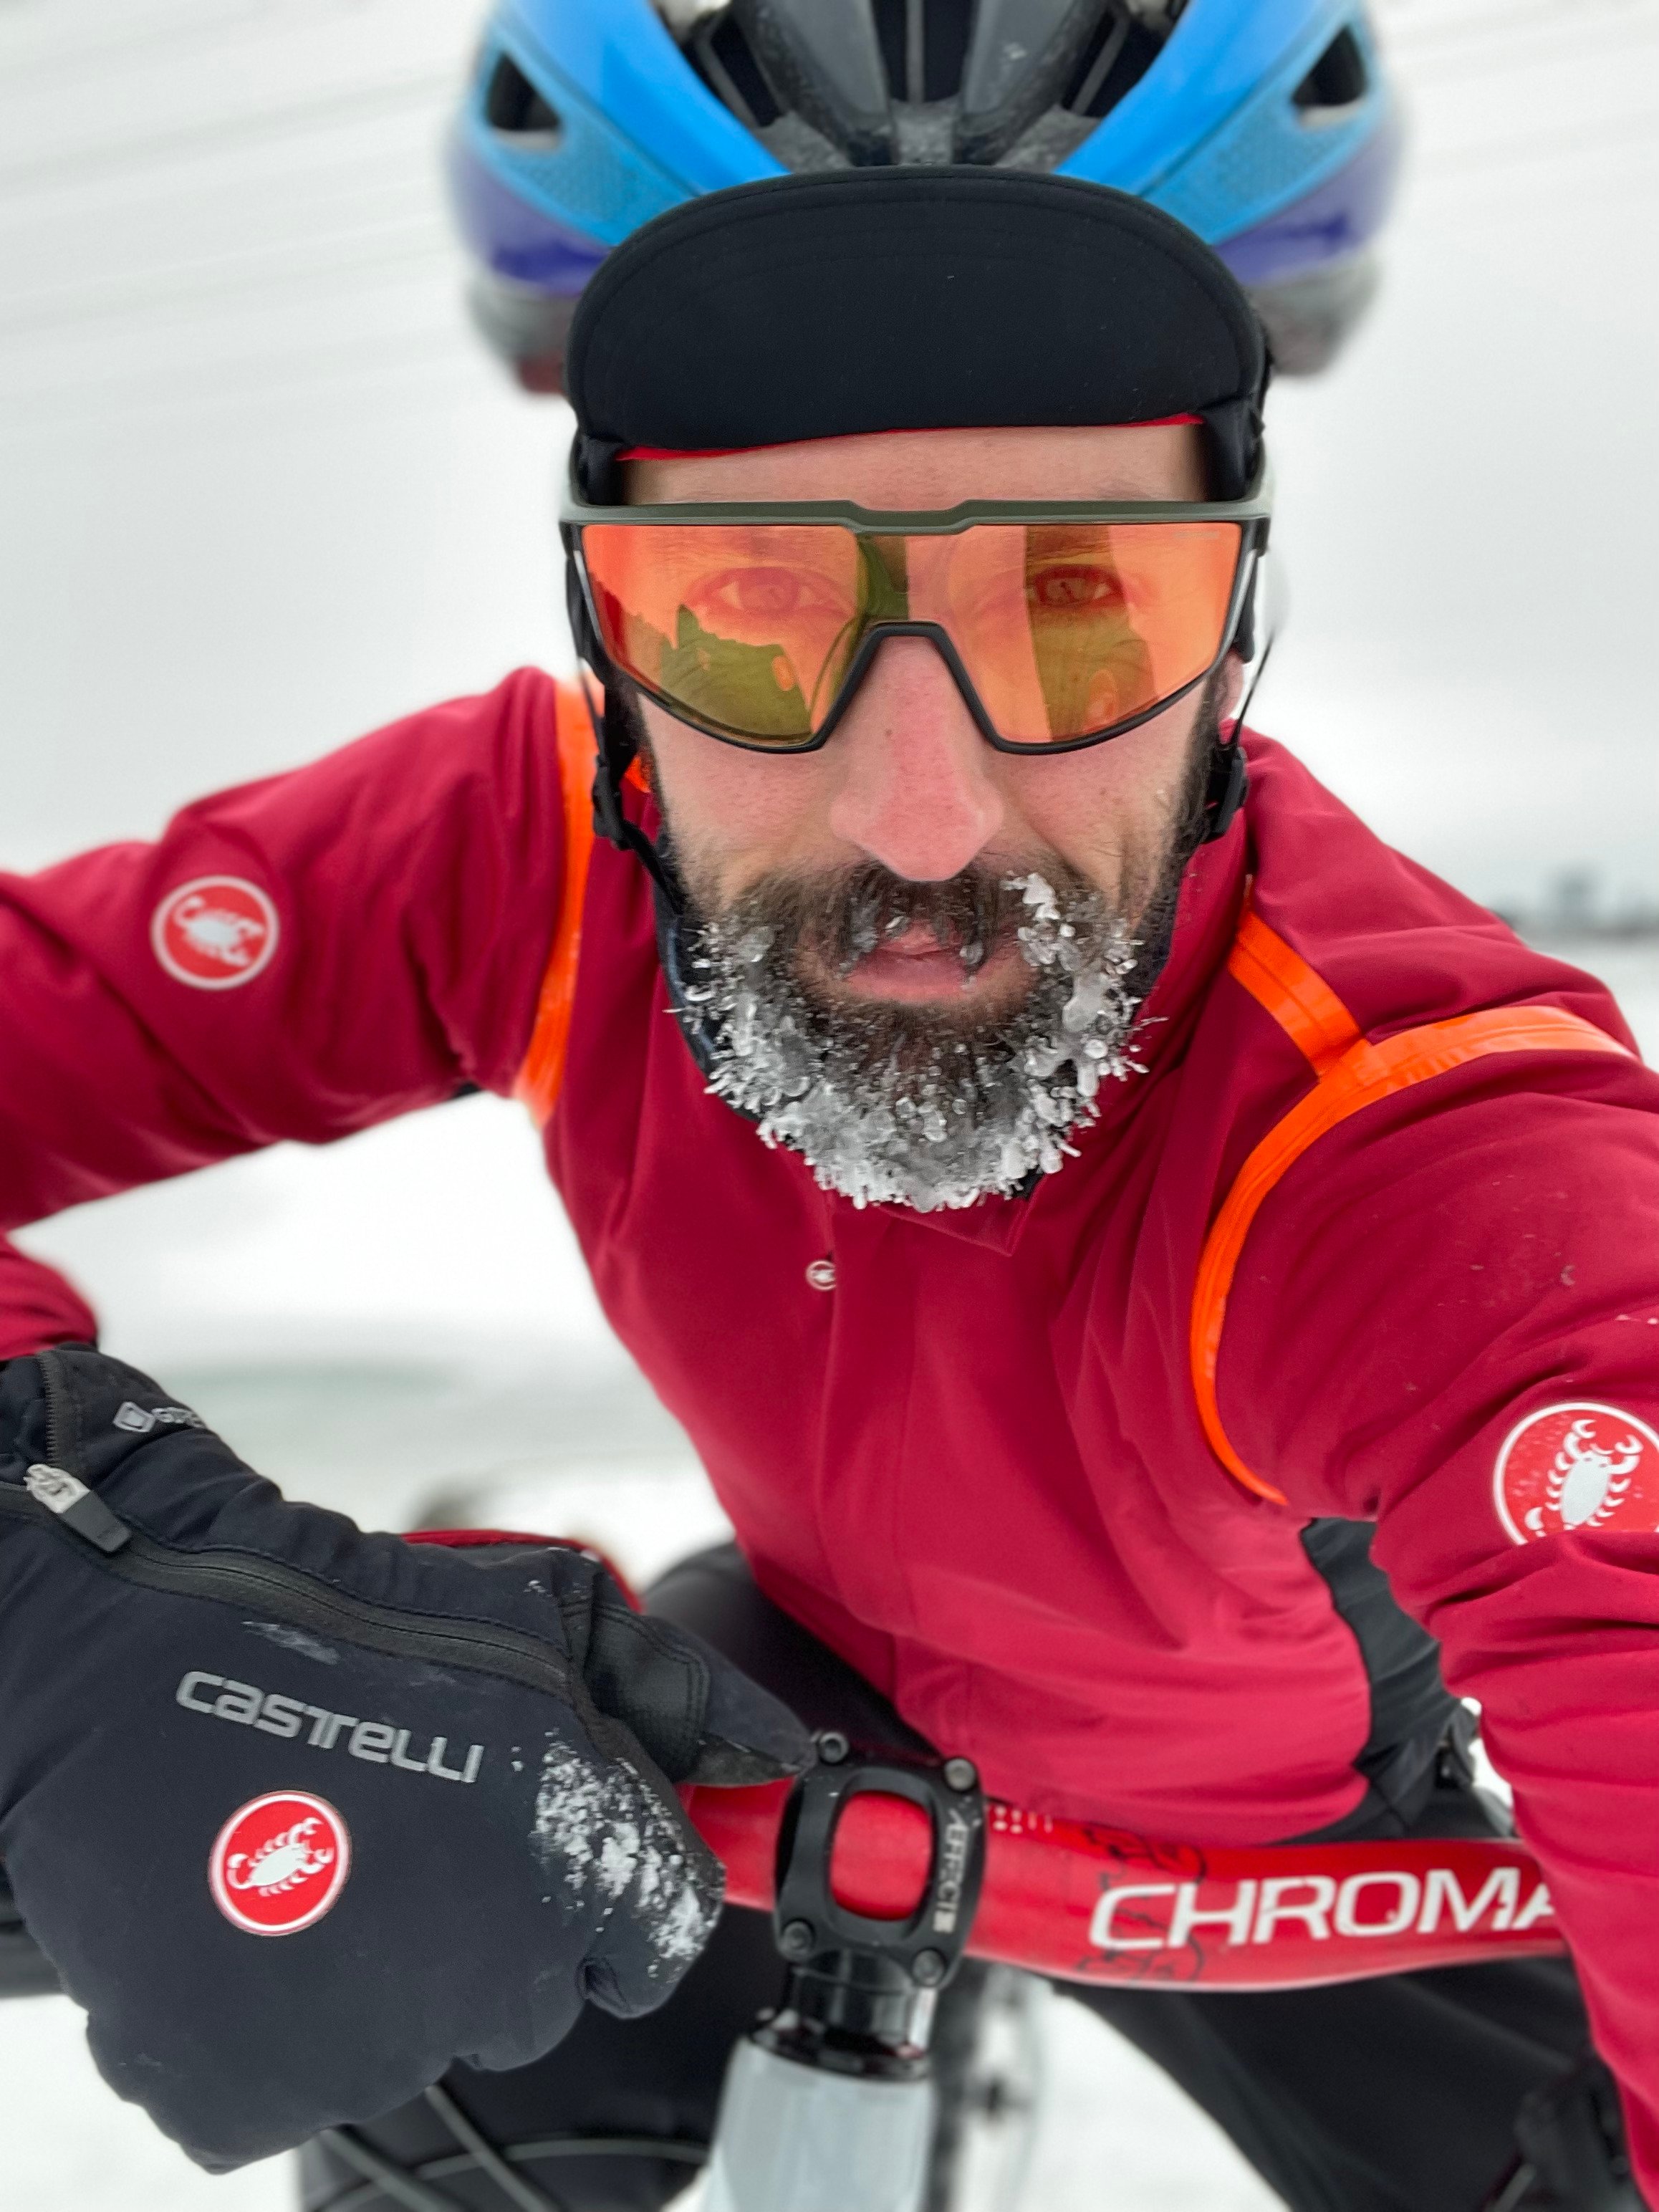
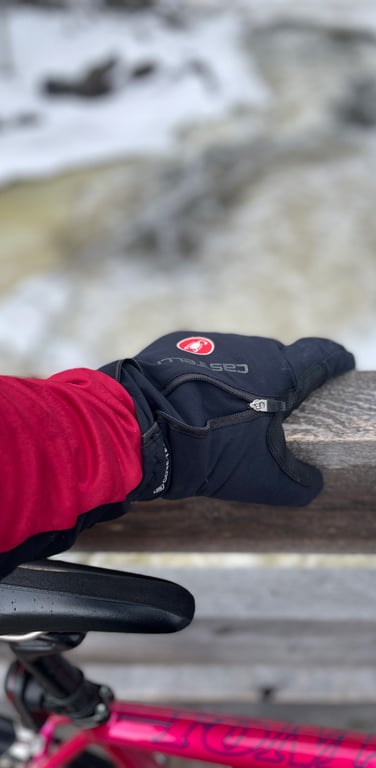
As you compile data from numerous rides, you’ll start to see trends, which will help you ask specific questions. For example: ‘Why are my hands warm for the first hour, when it’s colder out, then they become cold even though the temperature rose?’ If I was interrogating this question, my first thought would be that my gloves were not moving enough moisture out. My gloves might have been too warm for the intensity I was riding. Maybe the humidity was too high, and the issue wasn’t wind penetration, but low evaporation.
There’s always more to learn, and trust me, it gets easier. Tracking what we’re doing takes the load off our memory, and alleviates anxiety around the accuracy of our recollection. If we’re tracking what we do, it’s kind of hard to think of a ‘miss’, where we are cold, as a total loss. Instead, we can use that experience to inform future rides, and build confidence. Because it’s sort of simple: don’t wear the same kit for those conditions. Winter cycling is a process, and wow, when the kit is spot on for the day, is it ever awesome! Nobody starts out riding in winter and nails it. It takes time and practice. And it gets easier.
ABOUT MATT
Matt Surch is a Castelli ambassador with thrives on riding through Canada's toughest sub-zero conditions. Give him a follow on Strava or Instagram for more winter riding inspiration.
FOOTNOTES
Photos by Max Rubarth, Scott Emery, Matt Surch
Words by Matt Surch
Photos by Max Rubarth, Scott Emery, Matt Surch
Words by Matt Surch
